
Create a D&D Character Portrait — A ComfyUI + OpenGPEX Walkthrough
You've written your character's backstory. Now you need a portrait — a transparent-background token for Roll20, Foundry VTT, Owlbear Rodeo, or your D&D Beyond character sheet.
Here's how to go from a text description to a finished token in just a few steps, using your local ComfyUI and OpenGPEX.
Step 0: Connect ComfyUI to OpenGPEX (One-Time Setup)
- In Settings → Environments, enter your ComfyUI address and click Check Health — green ✓ means connected
- Public URL (easiest): If your ComfyUI has an HTTPS address (e.g. via Cloudflare Tunnel or ngrok), just paste it in — done.
- Local/LAN setup: Start ComfyUI with
python main.py --enable-manager --listen 0.0.0.0 --enable-cors-header, then check the Connection Guide at the bottom of the settings panel for port forwarding instructions.
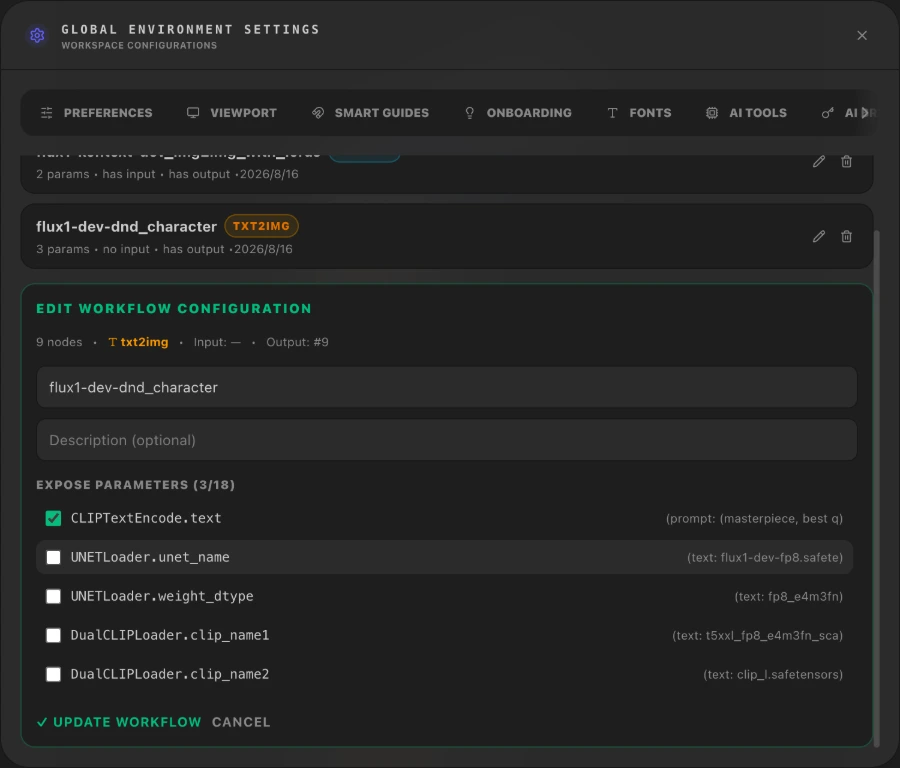
- Go to Settings → Workflows → Import JSON (or From Server to pull directly from ComfyUI's history). During import, check the parameters you want to control — like the positive prompt and seed — so they appear as editable fields in the main panel. Which allows you to adjust prompts, models, and settings seamlessly without leaving the editor, just as you're accustomed to in ComfyUI.
You only need to do this once. After that, your workflow and its exposed parameters are saved and ready to use anytime.
Step 1: Generate Your Character
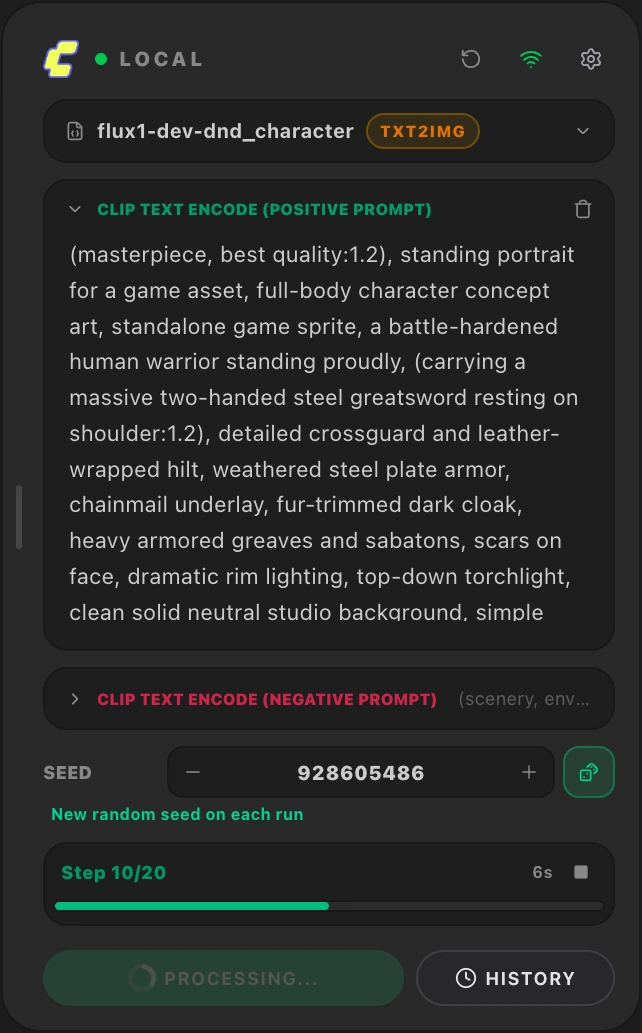
Open the ComfyUI Bridge panel and enter your character description:
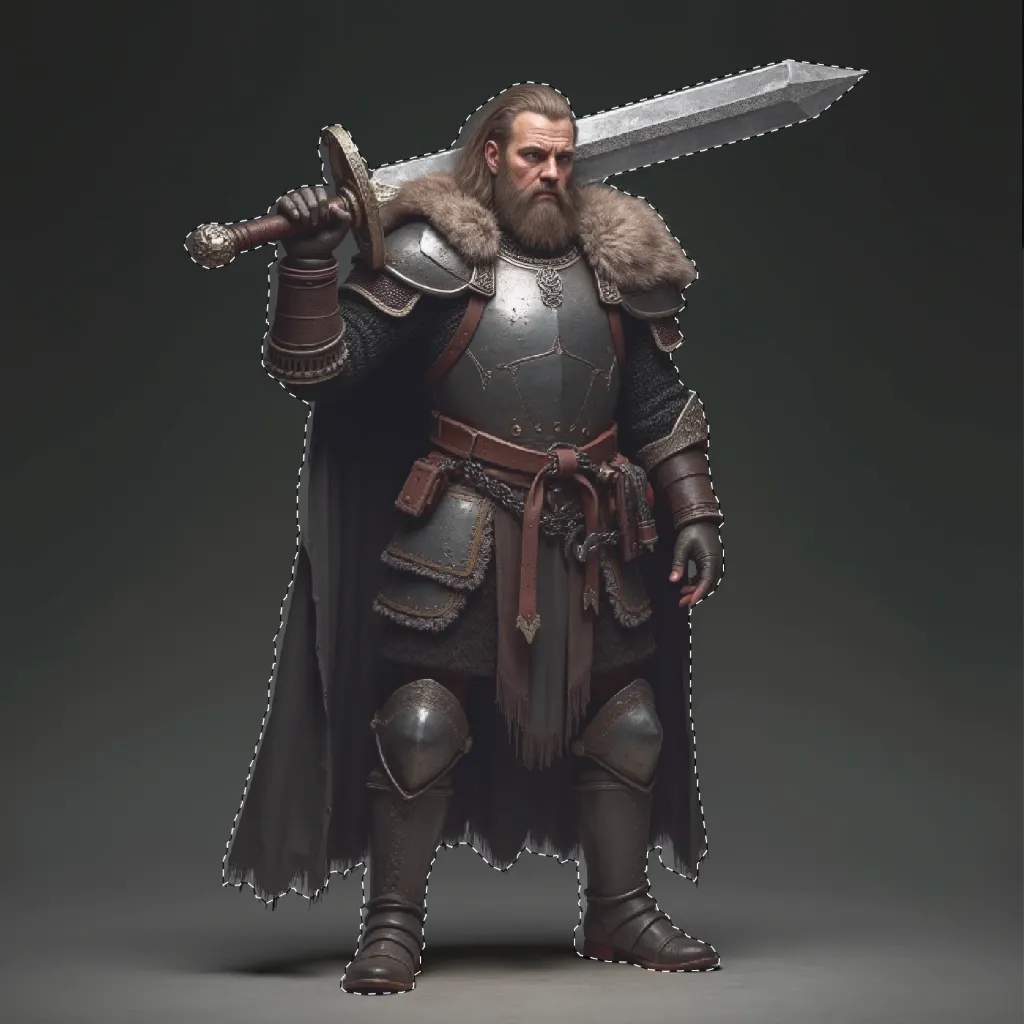
"(masterpiece, best quality:1.2), standing portrait for a game asset, full-body character concept art, standalone game sprite, a battle-hardened human warrior standing proudly, (carrying a massive two-handed steel greatsword resting on shoulder:1.2), detailed crossguard and leather-wrapped hilt, weathered steel plate armor, chainmail underlay, fur-trimmed dark cloak, heavy armored greaves and sabatons, scars on face, dramatic rim lighting, top-down torchlight, clean solid neutral studio background, simple dark gray gradient background, centered composition, entire figure visible from head to boots, sharp focus, artstation trending"
Click Generate. You'll see the progress in real time (Step 12/20... 18/20... done). The result appears directly on your canvas as a new frame.
In the ComfyUI Bridge panel you can:
- Switch environments — toggle between multiple ComfyUI instances (e.g. local GPU vs remote server)
- Select a workflow — pick from your pre-configured workflows
- Edit exposed parameters — prompts, seed, steps, and any params you checked during import appear here as editable fields
- Sync model lists — pull available models from ComfyUI so you can switch checkpoints/LoRAs from a dropdown
- Generate & track progress — click Generate and watch real-time progress (Step 12/20... 18/20... done)
- View execution history — review past generations, reuse parameters, or compare results
Step 2: Remove the Background
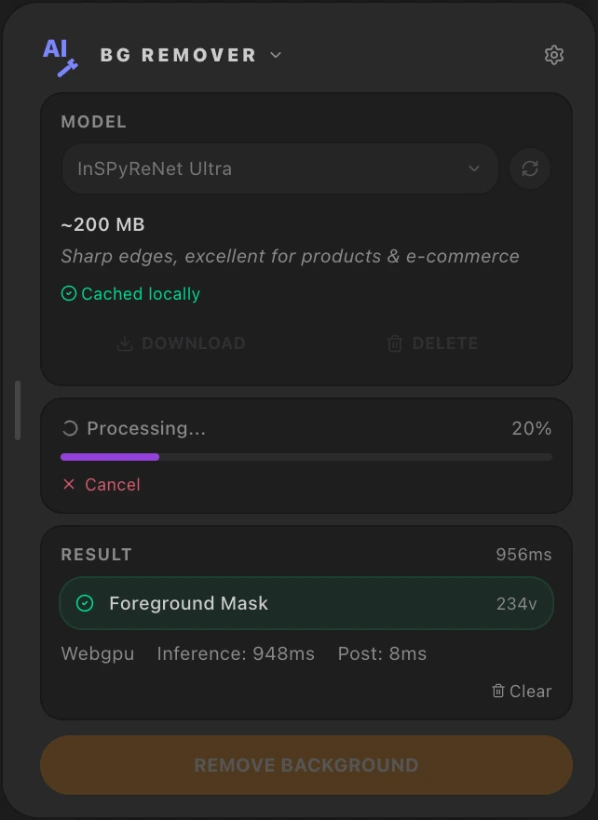
Your character looks great — but it still has a background. You need a transparent token. Now open the AI Tools panel and select BG Remover.
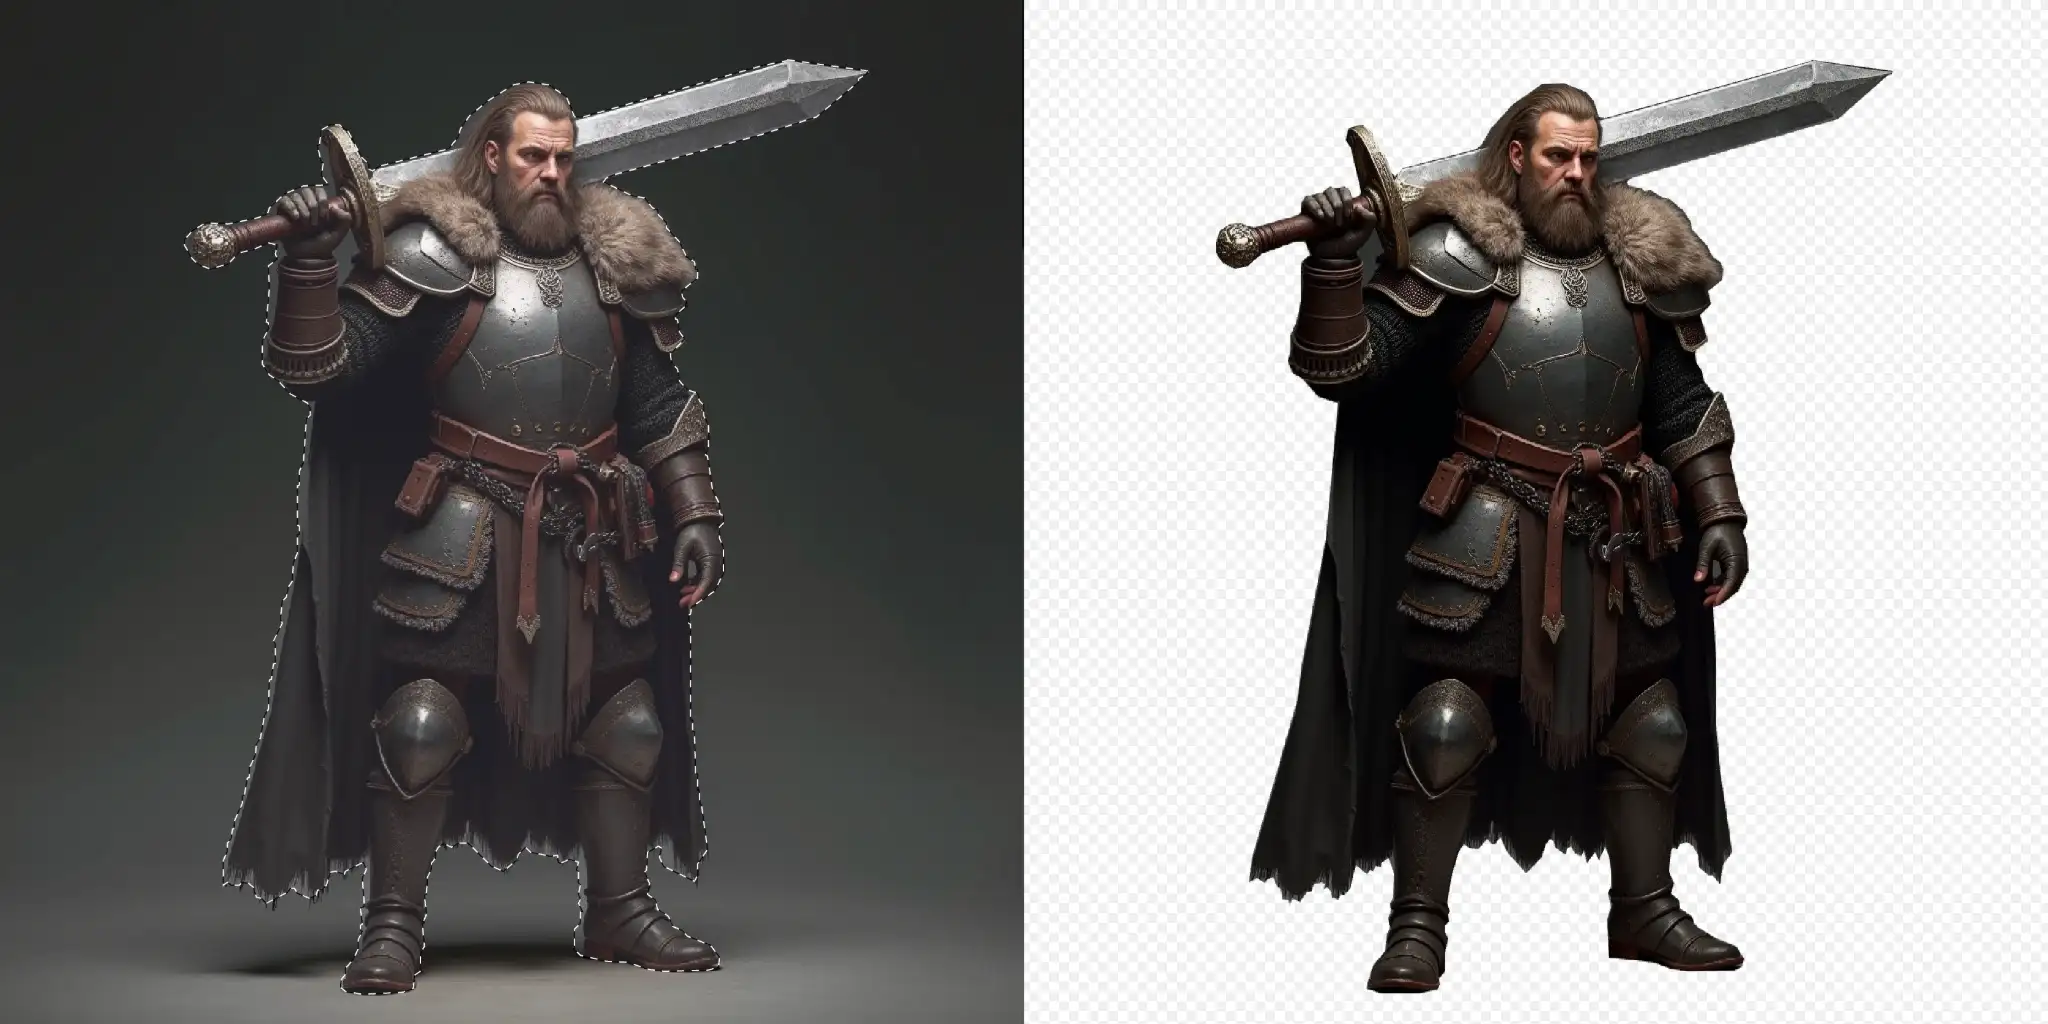
The Background Removal tool returns a foreground selection (not deleted pixels). From there you have several ways to extract your subject:
- Copy to new layer — duplicate the selected area onto a fresh transparent layer
- Create a branch frame — generate a new frame variant based on the selection
- Invert & delete — flip the selection via Clip Options toolbar, then delete the background pixels
OpenGPEX gives you multiple options to match your creative intent.
First time using an AI tool? Select a model and download it — this is cached locally on your machine (you can delete it anytime to free space).
Once downloaded, click the removal button. In a few seconds the background is gone.
Background removal doesn't delete pixels — it returns a selection mask. Your original image stays intact, and you can refine the selection before applying.
You can continue editing while the selection is active. If the selection gets dismissed, simply restore it from the Result list in the panel — no need to re-run the AI.
Step 3: Export & Download
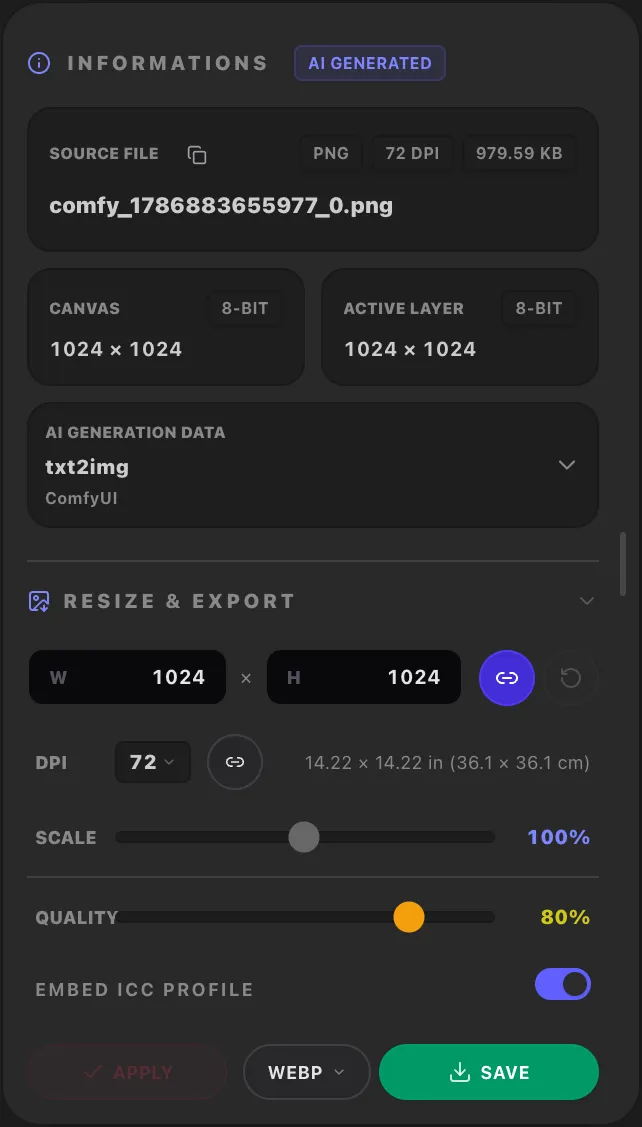
Press Ctrl/Cmd+Shift+S to open the export panel. Choose your format — PNG or WebP both preserve transparency (WebP gives smaller file sizes), or export as JPEG, TIFF, or AVIF depending on your needs.
Adjust the output size if needed (e.g. resize to 280×280 (a standard 4× scaled Medium creature token on Roll20's grid)), set compression quality, then hit Download. The file saves directly to your local file system.
The Information panel is also where you resize and export. It shows metadata and provides export controls:
- Resize — adjust image dimensions and set DPI for print
- Export settings — control compression quality, with format-specific options for each type (PNG, WebP, JPEG, TIFF, AVIF)
- Metadata preservation — EXIF and ICC profile are retained on export
- EXIF & ICC viewer — see camera data, color profile, resolution at a glance
- AI generation info — prompt, seed, model name, and workflow details from ComfyUI are stored automatically and displayed here
Done. One browser tab, no file juggling.
Tips
💡 Not happy with the result? Toggle the random seed switch on, then click Generate again — each run produces a different variation. Check the History panel to compare previous outputs.
💡 Fine-tune the edges: If the AI background remover left artifacts around hair or thin details, use the Eraser tool (E) to clean up manually.
💡 Match your race & class: Swap the prompt to fit your specific character — e.g. Tiefling Warlock, Dragonborn Paladin, or Halfling Rogue — for game-accurate results.
💡 Download the workflow used in this article: comfyui-dnd-art.json — import it into OpenGPEX ComfyUI Bridge and start generating right away.
Try It
→ Go to OpenGPEX — Connect your ComfyUI, describe your character, and get a token in minutes.
✱ All media assets in this article were edited and exported entirely with OpenGPEX.